
Schumacher Battery Charger Repair Manual: A Comprehensive Guide
This manual provides detailed instructions for repairing Schumacher chargers‚ covering safety‚ operation‚ troubleshooting‚ and DIY fixes for optimal battery maintenance and longevity.
Schumacher Electric Corporation has been a trusted name in automotive battery chargers and related products for decades. Their chargers are widely recognized for durability and reliability‚ serving both professional mechanics and DIY enthusiasts. Understanding the core functionality of these devices is crucial before attempting any repair.
These chargers utilize a process of converting AC power to DC power‚ delivering a controlled current to recharge lead-acid batteries. Features like automatic voltage detection and multiple charging modes (Charge‚ Boost‚ Engine Start) enhance usability. Proper operation and maintenance‚ as detailed in owner’s manuals‚ are key to extending the charger’s lifespan. However‚ even with careful use‚ components can fail‚ necessitating repair. This guide aims to empower users with the knowledge to diagnose and address common issues.
Understanding Charger Models & Series
Schumacher offers a diverse range of battery chargers‚ categorized into various models and series‚ each designed for specific applications and battery types. Older “school” models‚ often sought after for their simplicity and robust construction‚ differ significantly from newer‚ automatic units. Identifying your specific model is the first step in any repair process‚ as internal components and schematics vary.
Common series include the SC series (standard chargers)‚ the XS series (memory chargers)‚ and heavier-duty professional models. Each series features unique charging profiles and capabilities. Accessing the correct repair manual – often model-specific – is paramount. Online resources‚ like Reddit’s r/AskElectronics‚ demonstrate a continued interest in repairing these chargers‚ highlighting the importance of understanding model variations for successful troubleshooting and component replacement.
Safety Precautions Before Repair
Working with battery chargers involves inherent electrical hazards. Always disconnect the charger from the AC power source before attempting any repairs. Batteries themselves can release explosive gases – ensure adequate ventilation and avoid open flames or sparks. Discharge capacitors completely‚ as they can retain a dangerous charge even when unplugged.
Never work on a charger while it’s connected to a battery. Wear appropriate personal protective equipment (PPE)‚ including insulated gloves and eye protection. Understand the charger’s operating voltage and current ratings. Improper repair attempts can lead to electric shock‚ fire‚ or damage to the charger and battery. Refer to the owner’s manual for specific safety guidelines related to your Schumacher model.

Disassembly & Component Identification
Carefully disassemble the charger‚ noting component placement. Identify the transformer‚ rectifier‚ capacitors‚ and control panel elements for effective repair and reassembly procedures.
Locating the Repair Manual for Your Model
Finding the correct repair manual is crucial for successful Schumacher battery charger restoration. Begin by searching the Schumacher Electric Corporation’s official website; often‚ they provide downloadable manuals for various models. If a specific manual isn’t available online‚ consider exploring online forums like r/AskElectronics on Reddit‚ where users frequently share resources and troubleshooting advice.
Alternatively‚ utilize search engines with precise model numbers – including any series designations – to locate potential PDF downloads or links to relevant documentation. Remember that older models may have limited online resources‚ potentially requiring contacting Schumacher support directly for assistance. Thoroughly verifying the manual’s compatibility with your charger model is paramount before commencing any repair work.
Identifying Key Components (Transformer‚ Rectifier‚ Capacitor)
Successful repair hinges on recognizing core components. The transformer steps down the AC voltage‚ often a bulky‚ shielded component. The rectifier‚ typically a bridge rectifier using diodes‚ converts AC to DC. Visually inspect for burnt or cracked diodes – a common failure point. Capacitors‚ essential for smoothing the DC output‚ are cylindrical and may exhibit bulging or leakage if faulty.
Understanding their function aids troubleshooting. A failed transformer prevents power‚ a bad rectifier causes low or no DC output‚ and defective capacitors lead to unstable voltage. Careful visual inspection‚ combined with multimeter testing (covered later)‚ will pinpoint these critical components needing attention during the repair process.
Control Panel & Switch Breakdown
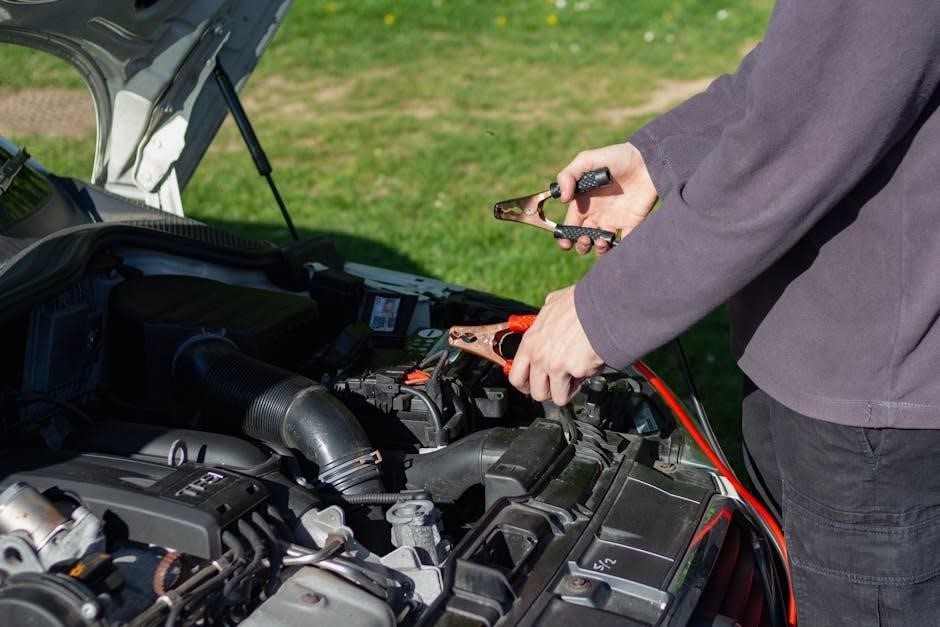
The control panel dictates charger operation. Common switches include “Charge‚” “Boost‚” and “Engine Start‚” each activating different charging profiles. “Charge” provides a sustained‚ lower-current charge. “Boost” delivers a higher current for quicker‚ but potentially damaging‚ charging. “Engine Start” offers a high-current burst for jump-starting vehicles.
Inspect switches for physical damage or corrosion. A multimeter can verify continuity when switched on. Knobs control amperage or voltage settings; internal potentiometers may wear out‚ causing inaccurate readings. Understanding each control’s function is crucial for diagnosing issues and ensuring proper operation after repair. A faulty switch can prevent charging or deliver incorrect voltage.
Troubleshooting Common Issues
Diagnose problems like no power‚ low output‚ overheating‚ or incorrect voltage readings using systematic checks and component testing for effective repair solutions.
Charger Not Powering On
If your Schumacher charger fails to power on‚ begin with the basics: verify the AC power cord is securely connected to both the charger and a functioning wall outlet. Next‚ inspect the charger’s internal fuse – a blown fuse is a common culprit. Locate the fuse holder (refer to your model’s specific repair manual for its location) and test the fuse for continuity using a multimeter.
If the fuse is blown‚ replace it with a fuse of the exact same amperage and voltage rating. A repeated blown fuse indicates a more serious internal short circuit requiring further investigation. Check the power switch itself for functionality; it may be faulty and require replacement. Finally‚ examine the input rectifier for any visible signs of damage‚ as a failed rectifier can prevent power from reaching the internal circuitry.
Low Charging Output
Experiencing low charging output from your Schumacher charger often points to issues within the transformer or rectifier stages. Begin by carefully inspecting the transformer for any signs of physical damage‚ such as bulging or burnt spots. Use a multimeter to verify the transformer’s secondary voltage output matches the specifications listed in your charger’s repair manual.
Next‚ thoroughly test the rectifier diodes. A faulty diode can significantly reduce the DC voltage delivered to the battery. Check each diode for forward voltage drop and reverse leakage. If any diodes fail these tests‚ they must be replaced. Also‚ inspect the filter capacitors; degraded capacitors can also contribute to low output voltage. Ensure proper connections and no corroded terminals.
Overheating Problems
Excessive heat in a Schumacher battery charger is a serious concern‚ indicating a potential component failure or inadequate ventilation. Begin by ensuring the charger’s ventilation slots aren’t blocked by dust or debris – thorough cleaning is crucial. Inspect the transformer for signs of overheating‚ like discolored windings or a burning smell. A failing transformer often generates significant heat.
Check the rectifier diodes and capacitors; these components can overheat if stressed beyond their ratings. Use a multimeter to test for short circuits in the rectifier. Also‚ verify the cooling fan (if equipped) is functioning correctly. If overheating persists after addressing these points‚ a faulty control circuit might be the cause‚ requiring more advanced diagnostics.

Incorrect Voltage Readings
Inaccurate voltage readings on a Schumacher charger can stem from several sources‚ demanding systematic troubleshooting. First‚ verify the multimeter used for comparison is calibrated and functioning correctly. Next‚ inspect the voltage sensing circuitry within the charger – often involving resistors and potentiometers. A faulty potentiometer can easily introduce errors in the voltage display.
Examine the control panel and associated wiring for loose connections or corroded terminals. These can disrupt the voltage signal. If the charger utilizes an analog meter‚ check for damage to the meter movement itself. Digital displays might indicate issues with the internal analog-to-digital converter. Thorough testing with a multimeter is essential to pinpoint the source of the inaccuracy.
DIY Repair Procedures
Empower yourself with step-by-step guides for transformer testing‚ rectifier diode checks‚ capacitor replacement‚ and control panel fixes – restoring your charger’s functionality.
Transformer Testing & Replacement
The transformer is a critical component‚ stepping down voltage for safe charging. Begin by visually inspecting for burn marks or physical damage. Use a multimeter to check the primary and secondary windings for continuity – a lack of continuity indicates a failed winding.
To test voltage output‚ carefully apply power (with appropriate safety precautions!) and measure the AC voltage on the secondary side. Compare this reading to the transformer’s specifications. If the transformer is faulty‚ replacement is often necessary.
When replacing‚ ensure the new transformer matches the original’s voltage and current ratings. Disconnect power completely before removing the old unit and carefully connect the wires to the new one‚ referencing a wiring diagram if available. Proper insulation and secure mounting are crucial for safe operation.
Rectifier Diode Checks & Repair
The rectifier converts AC voltage to DC‚ essential for battery charging. A common failure point‚ diodes can be tested using a multimeter’s diode test function. A healthy diode will show a forward voltage drop (typically 0.5-0.7V) in one direction and open circuit in the other.
If a diode fails (shows shorted or open readings)‚ it must be replaced. Carefully desolder the faulty diode‚ noting its orientation. Install the new diode‚ ensuring correct polarity – the band on the diode typically indicates the cathode.
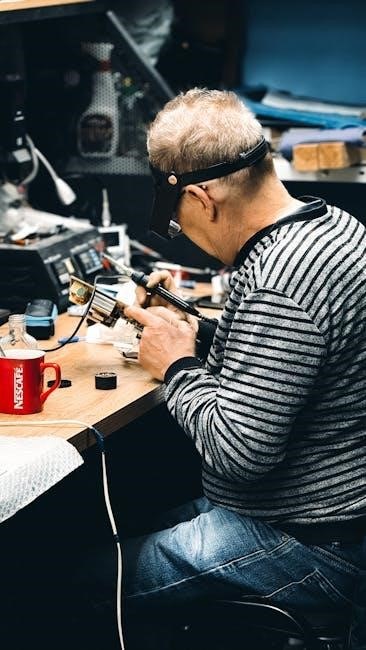
Soldering should be clean and secure to prevent overheating and ensure good electrical contact. After replacement‚ re-test all diodes to confirm proper function before reassembling the charger. A faulty rectifier prevents proper charging.
Capacitor Replacement Guide
Capacitors smooth the DC output and are prone to drying out or bulging with age. Before replacing‚ always discharge the capacitor – even unplugged‚ they can hold a dangerous charge! Use a resistor to safely discharge it. Visually inspect for leaks or physical damage.
To test a capacitor‚ a capacitance meter is ideal. Otherwise‚ a multimeter can check for shorts. When replacing‚ match the capacitance and voltage rating of the original. Note the polarity for electrolytic capacitors – incorrect installation can cause explosion!
Desolder carefully and install the new capacitor‚ ensuring correct orientation. Secure connections and retest the charger’s output to verify proper function. A failing capacitor causes unstable voltage.
Switch & Control Panel Repair
Control panel issues often stem from faulty switches or corroded connections. Begin by visually inspecting the switches for physical damage. Use contact cleaner to address oxidation within the switch mechanisms‚ improving conductivity. A multimeter is crucial for testing switch continuity – a broken switch will show no continuity.
For potentiometers (variable resistors) used in voltage adjustments‚ clean the internal tracks with contact cleaner and gently rotate the knob. If a switch is beyond repair‚ replacement is necessary. Ensure the new switch matches the original’s specifications (voltage‚ amperage).
Carefully disassemble the control panel‚ noting wire connections before disconnecting. Reassemble meticulously‚ testing each function after reconnection.
Advanced Troubleshooting
Diagnosing complex issues requires a multimeter‚ identifying short circuits‚ and analyzing fuse failures to pinpoint the root cause of charger malfunctions effectively.
Using a Multimeter for Diagnostics
A multimeter is indispensable for advanced Schumacher charger troubleshooting. Begin by checking for AC voltage at the input‚ ensuring power reaches the unit. Then‚ test the transformer’s primary and secondary windings for continuity and correct voltage output.
Diode checks are crucial for the rectifier; a faulty diode will prevent proper DC conversion. Continuity tests on switches and control panel components reveal open circuits. Measure capacitor ESR (Equivalent Series Resistance) – high ESR indicates degradation.
Voltage readings throughout the circuit help isolate failing components. Always discharge capacitors before testing! Remember safety precautions when working with electricity‚ and consult the charger’s schematic if available for accurate test points.
Identifying Short Circuits
Short circuits are a common cause of Schumacher charger failure‚ often indicated by a blown fuse. Begin by visually inspecting the PCB for burnt components or damaged traces. Use a multimeter in continuity mode to check for unintended connections between power rails and ground.
Isolate sections of the circuit by removing components or disconnecting wires to narrow down the location of the short. Pay close attention to the rectifier‚ transformer windings‚ and control panel wiring. A shorted capacitor can also cause this issue.
Carefully examine solder joints for bridges. Remember to disconnect the charger from power before probing and always discharge capacitors before testing. A thermal camera can sometimes reveal hotspots indicating a short.
Fuse Replacement & Analysis
Before replacing a blown fuse in your Schumacher charger‚ determine the root cause! Simply replacing it without diagnosis risks immediate re-blowing and potential further damage. Note the fuse’s amperage and voltage rating – use an identical replacement.
Inspect the surrounding components for signs of stress‚ burning‚ or short circuits. A multimeter set to continuity can confirm if the fuse is truly blown. If the new fuse blows immediately‚ a short circuit is almost certainly present and requires investigation.
Analyze the fuse’s failure mode; a blackened fuse often indicates a significant overcurrent event. Repeated fuse failures signal a deeper problem needing attention.
Maintenance & Longevity
Regular cleaning‚ proper storage‚ and careful inspection are key to maximizing your Schumacher charger’s lifespan and ensuring consistent‚ reliable performance for years.
Cleaning & Inspection Procedures
Routine maintenance significantly extends the life of your Schumacher charger. Begin by disconnecting the charger from the power source before any inspection or cleaning. Use a dry cloth to wipe down the exterior casing‚ removing dust and debris that can accumulate over time. Pay close attention to the ventilation slots‚ ensuring they aren’t obstructed‚ as this can lead to overheating.
Inspect the charging cables for any signs of damage‚ such as cracks‚ fraying‚ or exposed wires. Damaged cables pose a safety hazard and should be replaced immediately. Check the clamps for corrosion; a wire brush can often remove light corrosion‚ but severely corroded clamps require replacement. Finally‚ visually inspect the control panel for any cracked or broken components. A proactive approach to cleaning and inspection prevents minor issues from escalating into major repairs.
Proper Storage Techniques
Correct storage is crucial for maintaining your Schumacher battery charger’s functionality. When not in use for extended periods‚ disconnect the charger from the power outlet. Clean the unit thoroughly‚ removing any dust or debris as outlined in the cleaning procedures. Store the charger in a cool‚ dry environment‚ away from direct sunlight and extreme temperatures.
Avoid storing the charger in damp or humid locations‚ as moisture can cause corrosion of internal components. Ideally‚ store the charger in its original packaging or a protective case. Ensure the charging cables are neatly coiled and secured to prevent damage. Periodically check the stored charger to ensure no signs of deterioration have occurred‚ guaranteeing it’s ready for use when needed.
Extending Charger Lifespan
Proactive maintenance significantly extends the life of your Schumacher battery charger. Regularly inspect the charging cables for any signs of wear‚ cracks‚ or damage‚ replacing them promptly if necessary. Avoid overloading the charger with batteries exceeding its specified capacity. Utilize the correct charging mode for the battery type – lead-acid‚ AGM‚ or gel – to prevent overcharging or undercharging.
Keep the charger’s ventilation slots clear of obstructions to ensure proper cooling during operation. Following these simple guidelines‚ alongside consistent cleaning and appropriate storage‚ will maximize the charger’s performance and reliability‚ ensuring years of dependable service and minimizing the need for frequent repairs.

Warranty Information & Support
Schumacher Electric Corporation offers a limited warranty on its chargers. Access details‚ find replacement parts‚ and connect with their support team for assistance.
Schumacher Electric Corporation Warranty Details
Schumacher Electric Corporation provides a limited warranty covering defects in materials and workmanship for a specified period from the date of purchase. The warranty duration varies depending on the specific charger model and is typically outlined in the owner’s manual accompanying the product.
This warranty generally covers repair or replacement of the defective unit‚ at Schumacher’s discretion. It does not cover damage resulting from misuse‚ abuse‚ accidents‚ unauthorized modifications‚ or normal wear and tear. Proof of purchase‚ such as a receipt or invoice‚ is required to validate any warranty claim.
To initiate a warranty claim‚ customers should contact Schumacher’s support team (details provided elsewhere in this guide) for instructions and authorization. Shipping costs for returning the unit may be the responsibility of the customer. Schumacher reserves the right to inspect the returned product to determine the validity of the claim.
Finding Replacement Parts
Sourcing replacement parts for your Schumacher battery charger can be achieved through several avenues. Schumacher’s official website often lists compatible components‚ though availability may vary. Online retailers specializing in electronic components‚ such as Digi-Key or Mouser Electronics‚ frequently stock diodes‚ capacitors‚ and transformers suitable for charger repair.
Additionally‚ searching online marketplaces like eBay or Amazon can yield both new and used parts. When ordering‚ carefully verify the part number and specifications to ensure compatibility with your specific charger model. Local electronics repair shops may also carry common replacement components or be able to order them for you.
Always prioritize genuine Schumacher parts when possible to maintain performance and safety. Consider the cost of parts versus the price of a new charger before proceeding with repairs.
Contacting Schumacher Support

For direct assistance with your Schumacher battery charger‚ reaching out to their support team is a valuable resource. Schumacher Electric Corporation provides customer support through various channels‚ including a dedicated phone line and an online contact form available on their official website.
Their website often features a comprehensive FAQ section addressing common issues and troubleshooting steps. When contacting support‚ be prepared to provide your charger’s model number and a detailed description of the problem you’re experiencing. Having proof of purchase readily available can also expedite the process.
Expect knowledgeable assistance regarding warranty claims‚ repair options‚ and locating specific parts. Schumacher’s support team can offer guidance tailored to your charger’s specific needs.