
Welcome! This manual details the setup and operation of your new xnx xnx Transmitter‚ ensuring optimal performance and longevity for diverse applications.
What is the xnx xnx Transmitter?
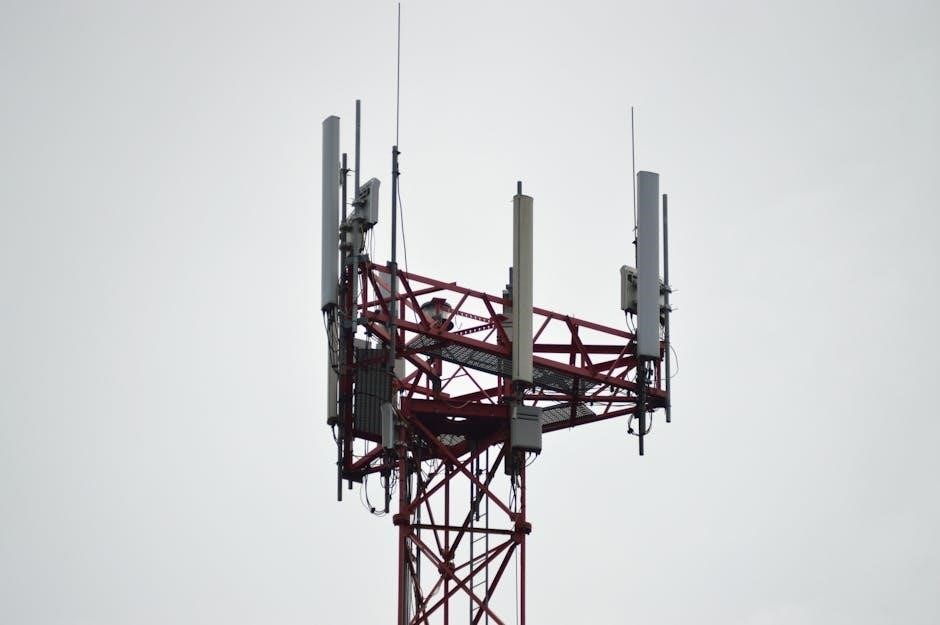
The xnx xnx Transmitter is a sophisticated‚ state-of-the-art device engineered for reliable and efficient transmission of data and signals over a designated radio frequency. It’s a crucial component in various systems requiring wireless communication‚ offering a robust solution for applications demanding secure and long-range connectivity.
This transmitter utilizes advanced modulation techniques to ensure signal integrity and minimize interference‚ even in challenging environments. Its compact and durable design allows for flexible installation options‚ making it suitable for both fixed and mobile applications. The xnx xnx Transmitter boasts a user-friendly interface and comprehensive configuration options‚ enabling seamless integration into existing infrastructure.
Essentially‚ it acts as the broadcasting hub‚ converting information into radio waves and sending it to a receiver‚ facilitating communication without physical cables. It’s built for performance and dependability.
Intended Use and Applications
The xnx xnx Transmitter is designed for a broad spectrum of applications requiring dependable wireless data transfer. Primary intended uses include industrial telemetry‚ remote control systems‚ and sensor networks where real-time data acquisition is critical. It excels in environments demanding robust communication‚ such as manufacturing plants‚ agricultural monitoring‚ and environmental research.
Further applications extend to security systems‚ enabling wireless transmission of alarm signals and surveillance footage. The transmitter is also suitable for smart home automation‚ facilitating control of various devices remotely. Its versatility makes it ideal for applications like asset tracking‚ drone control‚ and even specialized scientific instrumentation.
Ultimately‚ any system needing reliable‚ long-range‚ and secure wireless communication can benefit from the xnx xnx Transmitter’s capabilities.
Safety Precautions
Important: Prioritize safety during installation and operation! Read all warnings and instructions carefully to prevent injury or equipment damage.
General Safety Guidelines
Read First: Before commencing any installation or maintenance procedures‚ thoroughly review this entire manual. Familiarize yourself with all components‚ their functions‚ and potential hazards. Always disconnect the power supply before performing any adjustments or repairs.
Qualified Personnel: Installation and maintenance should only be performed by qualified personnel with appropriate training and experience in RF systems. Improper handling can lead to malfunction or safety risks.
Work Environment: Ensure the work area is clean‚ dry‚ and well-lit. Avoid working in hazardous environments with flammable materials or excessive dust. Use appropriate personal protective equipment (PPE)‚ including safety glasses and gloves.
Handling Components: Handle all components with care to avoid physical damage. Do not drop or subject them to excessive force. Report any damaged components immediately.
Documentation: Keep this manual readily available for future reference and ensure all personnel involved are aware of its contents.

RF Radiation Safety
Caution: This xnx xnx Transmitter emits radio frequency (RF) energy. Exposure to excessive RF radiation may pose health risks. Adhere to the following guidelines to ensure safe operation.
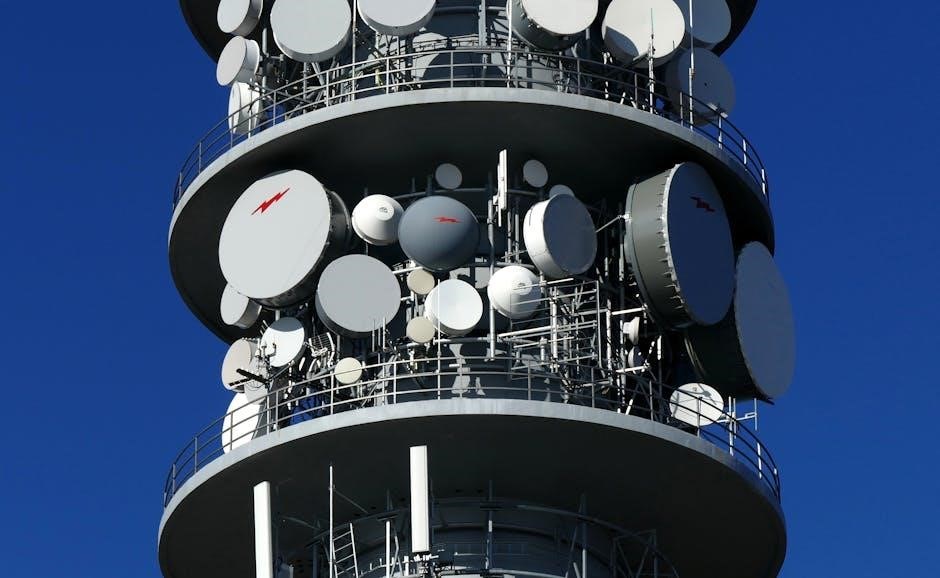
Maintain Distance: Maintain a safe distance from the antenna during operation. The recommended minimum safe distance is specified in the product specifications. Avoid prolonged exposure in close proximity.
Antenna Placement: Position the antenna to minimize RF exposure to personnel and the general public. Consider antenna height‚ direction‚ and surrounding environment.
Testing & Compliance: This transmitter has been tested and complies with relevant RF exposure limits. However‚ it is your responsibility to ensure continued compliance through proper installation and operation.
Warning Labels: Ensure all appropriate warning labels regarding RF radiation are prominently displayed near the transmitter and antenna. Regularly inspect labels for clarity and adherence.
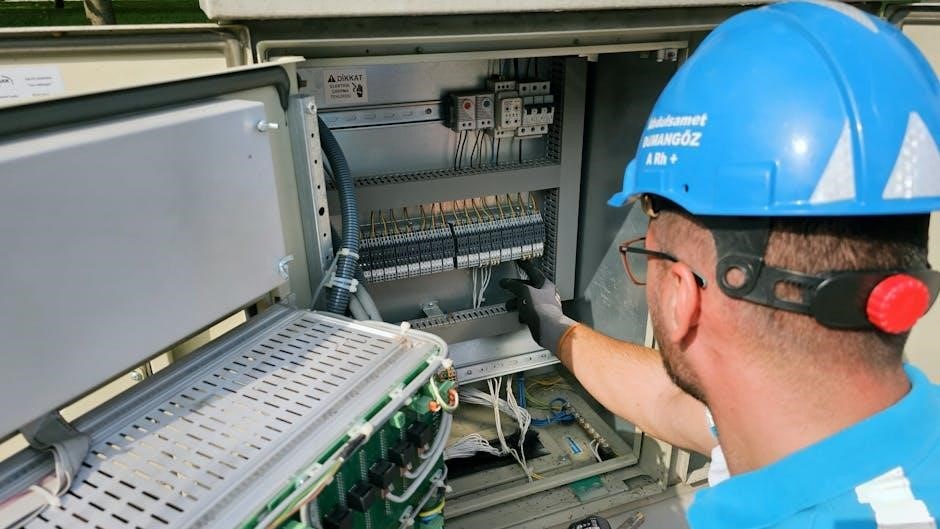
Electrical Safety
Warning: This xnx xnx Transmitter operates using potentially hazardous electrical voltages. Improper handling can result in severe injury or death. Always follow these electrical safety precautions.
Qualified Personnel: Installation and maintenance should only be performed by qualified and experienced personnel familiar with electrical systems and safety procedures.
Power Disconnection: Always disconnect the power supply before performing any installation‚ maintenance‚ or troubleshooting. Verify power is off using appropriate testing equipment.
Grounding: Ensure the transmitter is properly grounded according to local electrical codes. Proper grounding minimizes the risk of electric shock and equipment damage.
Wiring: Use appropriately sized and rated wiring for all connections. Inspect wiring for damage before use. Secure all connections tightly to prevent loose wires.
Fuse Protection: Always use the correct fuse rating as specified in the product documentation. Never bypass or modify the fuse protection.

Unboxing and Component Check
Carefully unpack the xnx xnx Transmitter and verify all listed components are present and undamaged before proceeding with installation procedures.
Package Contents List
Your xnx xnx Transmitter package should include the following items. Please verify that all components are present and accounted for before beginning the installation process. Missing components should be reported to your supplier immediately.
- xnx xnx Transmitter Unit: The core device for signal transmission.
- Antenna Connector Cable: A high-quality coaxial cable for connecting the antenna.
- Power Adapter: Specifically designed power supply for the transmitter (Input: 100-240V AC‚ Output: 12V DC).
- Mounting Bracket: For secure installation of the transmitter unit.
- Mounting Hardware Kit: Includes screws‚ washers‚ and nuts for bracket attachment.
- This Installation Manual: Providing detailed instructions for setup and operation.
- Quick Start Guide: A simplified guide for initial power-up and basic configuration.
Identifying Key Components
Familiarize yourself with the key components of the xnx xnx Transmitter. Understanding these will aid in proper installation and troubleshooting. Refer to the diagram on page 5 for a visual representation.
- Antenna Connector (SMA): Accepts the coaxial cable from the antenna for signal transmission.
- DC Power Input: Connects to the provided power adapter for operation.
- Status LED Indicators: Displays power‚ transmission‚ and fault status.
- Configuration Port (USB): Used for advanced settings and firmware updates.
- Mounting Points: Locations for attaching the mounting bracket.
- Heat Sink: Dissipates heat generated during operation – do not cover!
- Enclosure: Protects internal components from environmental factors.
Caution: Do not attempt to disassemble the enclosure. This will void the warranty and may cause damage.
Installation Procedure
Carefully follow these steps to correctly install your xnx xnx Transmitter‚ ensuring a secure and reliable connection for optimal signal transmission performance.

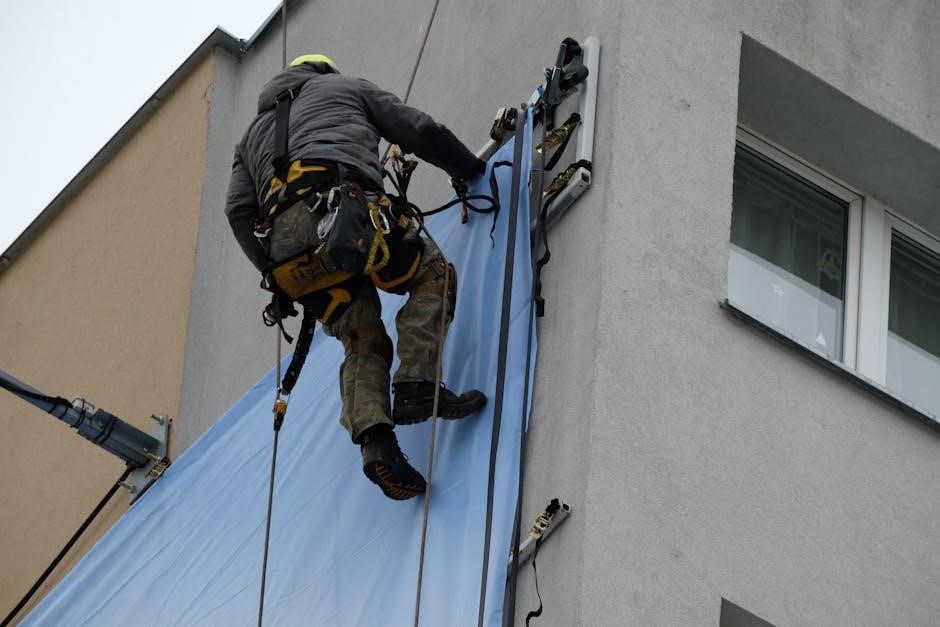
Mounting the Transmitter
Proper mounting is crucial for stable operation and optimal signal transmission. Select a location that is structurally sound and capable of supporting the transmitter’s weight‚ plus a safety margin. Avoid areas prone to vibration‚ excessive heat‚ or moisture.
The transmitter can be mounted using the provided mounting brackets‚ which offer flexibility for wall or rack installation. Ensure the mounting surface is level. Securely fasten the brackets using appropriate screws or bolts – these are not included and must be selected based on the mounting surface material.
Important Considerations: Maintain adequate ventilation around the transmitter to prevent overheating. Do not obstruct the antenna connectors or any ventilation openings. Double-check all fasteners for tightness after installation. Incorrect mounting can lead to performance degradation or equipment damage.
Antenna Connection
Correct antenna connection is paramount for efficient signal transmission and to prevent damage to the transmitter. Before connecting the antenna‚ ensure the transmitter is powered OFF. Use a coaxial cable of the appropriate impedance (typically 50 ohms) and length for your application.
Carefully connect the coaxial cable to the antenna connector on the transmitter‚ ensuring a snug and secure fit. Hand-tighten the connector; do not use excessive force‚ as this can strip the threads. Repeat the process at the antenna end.
Critical Note: A poorly connected antenna can result in high VSWR (Voltage Standing Wave Ratio)‚ potentially damaging the transmitter’s output stage. Regularly inspect the antenna connection for corrosion or looseness. Always use a properly grounded antenna system for safety and optimal performance.
Power Supply Connection
Proper power supply connection is crucial for reliable operation and to avoid damaging the xnx xnx Transmitter. Verify that your power supply meets the transmitter’s voltage and current requirements‚ as specified on the unit’s label. Incorrect voltage can cause immediate and irreversible damage.
Connect the power supply to the transmitter’s DC power input jack‚ observing the correct polarity (positive to positive‚ negative to negative). A reversed polarity connection will likely destroy the transmitter. Use a power cable with adequate gauge to handle the current draw.

Important Safety Reminder: Always ensure the power supply is properly grounded. Before powering on‚ double-check all connections. If using a battery‚ ensure it is fully charged and of the correct type. Disconnect the power supply before performing any maintenance or adjustments.
Configuration and Setup
Initial setup is key! This section guides you through powering on‚ self-tests‚ and configuring essential transmission parameters for optimal xnx xnx performance.
Initial Power-On and Self-Test
Powering On: Before applying power‚ double-check all connections as outlined in the ‘Installation Procedure’ section. Ensure the correct voltage is selected on the power supply‚ matching the transmitter’s requirements (refer to the specifications label). Connect the power cable securely.
Self-Test Initiation: Upon power-up‚ the xnx xnx Transmitter will automatically initiate a comprehensive self-test sequence. This diagnostic process verifies the functionality of critical components‚ including the oscillator‚ amplifier‚ and control circuitry. Observe the front panel display; a series of status indicators will illuminate sequentially.
Interpreting Results: A successful self-test is indicated by a solid green ‘Ready’ LED and a confirmation message on the display. If any errors are detected‚ a red ‘Fault’ LED will illuminate‚ accompanied by an error code. Consult the ‘Troubleshooting’ section for detailed explanations of error codes and corrective actions. Do not attempt operation if a fault is indicated.
Setting Transmission Parameters
Accessing the Menu: To configure transmission parameters‚ press the ‘Menu’ button on the front panel. Use the navigation arrows to scroll through the options: Frequency‚ Power Level‚ Modulation Mode‚ and Data Rate. Select the desired parameter using the ‘Enter’ button.
Frequency Selection: Input the desired transmission frequency‚ ensuring it complies with local regulations. The transmitter supports both direct frequency entry and pre-programmed channel selection. Verify the selected frequency is within the operational range of your antenna.
Power Level Adjustment: Adjust the transmission power level to optimize signal strength and minimize interference. Start with the lowest power setting and gradually increase it until a stable connection is established. Higher power levels consume more energy and may require improved cooling.
Modulation & Data Rate: Choose the appropriate modulation mode and data rate based on your application requirements. Refer to the application notes for recommended settings.
Troubleshooting Common Setup Issues
No Power: Verify the power supply connection and ensure the voltage matches the transmitter’s requirements. Check the fuse and replace if necessary. A faulty power supply is a common issue.
No Transmission: Confirm the antenna is properly connected and undamaged. Ensure the correct transmission frequency is selected and within the legal operating range. Check for any active fault indicators on the display panel.
Weak Signal: Adjust the transmission power level. Optimize antenna placement for clear line-of-sight. Reduce potential sources of interference‚ such as other electronic devices; Consider using a higher gain antenna.
Interference: Change the transmission frequency to avoid interference from other signals. Verify proper grounding to minimize noise. Consult local regulations regarding frequency usage.
Display Errors: Refer to the error code list in Appendix A for detailed explanations and recommended solutions.
Advanced Settings and Optimization
Fine-tuning is key! Explore advanced settings for peak performance‚ including power adjustments and strategic frequency selection for optimal signal clarity.
Adjusting Power Output
Power Level Control: The xnx xnx Transmitter allows for precise control over its transmission power‚ crucial for maximizing range while adhering to regulatory limits and minimizing interference. Access the power output settings via the configuration menu on the front panel or through the software interface.
Understanding the Settings: Power is typically measured in dBm (decibel-milliwatts) or Watts. Lower power settings conserve energy and reduce the potential for detection‚ ideal for short-range applications. Higher settings extend the transmission range but consume more power and increase the risk of interference.
Step-by-Step Adjustment: Begin with the lowest power setting and gradually increase it while monitoring the signal strength at the receiving end. Avoid exceeding the maximum permissible power level specified by your local regulations. Regularly check for signal distortion or interference as you increase the power. A balanced approach ensures reliable communication without causing disruption.
Important Note: Incorrect power settings can lead to reduced performance or even legal penalties. Always consult local regulations before adjusting the power output.
Frequency Selection and Channel Planning
Optimizing Performance: Selecting the appropriate frequency and planning channels are vital for reliable‚ interference-free operation of the xnx xnx Transmitter. The transmitter supports a wide frequency range; however‚ local regulations dictate permissible frequencies.
Scanning for Clear Channels: Utilize the built-in spectrum analyzer to scan for available channels with minimal interference. The software interface provides a visual representation of channel occupancy‚ aiding in selection. Prioritize channels with the lowest noise floor.
Channel Width Considerations: Wider channels offer higher data throughput but are more susceptible to interference. Narrower channels provide greater resilience but reduce bandwidth. Choose a channel width appropriate for your application’s needs.
Avoiding Interference: Coordinate channel assignments with other nearby wireless systems to prevent co-channel interference. Regularly monitor channel conditions and adjust as needed. Proper planning ensures optimal performance and minimizes disruptions.